Installation instructions for a Small DECAL
Please follow these instructions to ensure a successful decal installation:
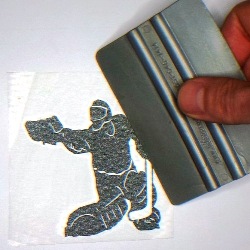
1. Preparation Before installation, ensure the decal is properly adhered to the transfer tape. Lay the decal flat on a smooth table in an environment between 60ºF and 80ºF. Using a squeegee or a credit card, press firmly over the entire surface of the decal.
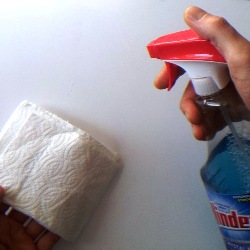
2. Surface Cleaning Clean the application surface thoroughly using regular glass cleaner or rubbing alcohol. The surface must be completely free of dirt, dust, oil, and wax. For best results, the surface temperature should be between 50ºF and 90ºF. If the surface was recently painted, please wait at least 60 days before applying the decal.
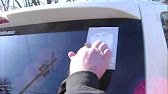
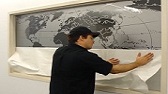
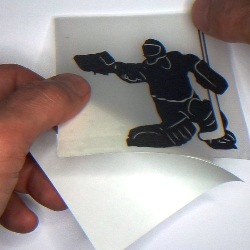
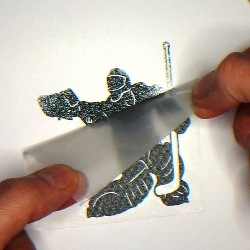
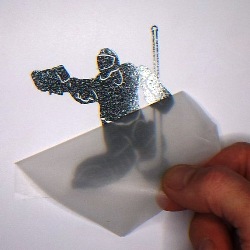
3. Application Carefully peel the transfer tape, ensuring the decal remains attached to it. Place the transfer tape and decal onto the surface. Starting from the top center, use a squeegee or credit card to firmly apply the sticky side of the decal to the surface.
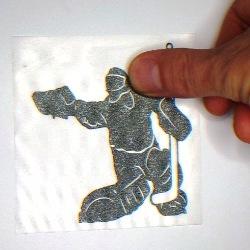
4. Finishing Let the decal sit for approximately 30 seconds to allow the adhesive to bond. Begin removing the transfer tape by peeling slowly from one top corner down to the opposite bottom corner. If any small bubbles remain, you can remove them by poking a tiny hole and pushing the air out with your finger.

Installation instructions for a Tall DECAL
1. Preparation Lay the decal flat on a smooth table in an environment between 60ºF and 80ºF. Before installation, ensure the decal is properly adhered to the transfer tape by pressing firmly over the entire surface with a squeegee or credit card.

2. Surface Cleaning Clean the application surface thoroughly with regular glass cleaner or rubbing alcohol. The surface must be completely free of dirt, dust, oil, and wax. For the best results, the surface temperature should be between 50ºF and 90ºF. If the surface was recently painted, wait at least 60 days before applying the decal.
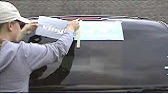
3. Positioning Without removing the paper backing, place the decal on the surface. Use the top portion of the tape to secure the decal in its desired position.
4. Application Keep the top portion of the tape attached. Begin applying the decal from top to bottom by peeling away the paper backing with one hand while smoothing the decal onto the surface with the other, using a squeegee or credit card.
5. Finishing Let the decal sit for approximately 30 seconds before slowly removing the transfer tape. If any small bubbles remain, you can remove them by poking a tiny hole and pushing the air out with your finger.
Installation instructions for a Widened DECAL
1. Preparation Before installation, ensure the decal is properly adhered to the transfer tape. Lay the decal flat on a smooth table in an environment between 60ºF and 80ºF. Using a squeegee or a credit card, press firmly over the entire surface of the decal while it is flat.

2. Surface Cleaning Thoroughly clean the application surface using rubbing alcohol or glass cleaner. The surface must be completely free of dirt, dust, oil, and wax. For the best results, the surface temperature should be between 50ºF and 90ºF. If the surface was recently painted, wait at least 60 days before applying the decal.
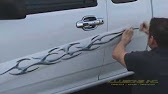
3. Application Without removing the paper backing, position the decal on the surface and use the side portions of the tape to hold it in place. Keeping the right side secured, begin applying the decal from right to left. Slowly peel back the paper backing with one hand while pressing the decal onto the surface with a squeegee or credit card with the other.
4. Finishing Let the decal sit for approximately 30 seconds before slowly removing the transfer tape. If any small air bubbles remain, you can remove them by poking a tiny hole and pushing the air out with your finger.
How to Remove a DECAL
To remove a decal, gently heat the area with a blow dryer and peel the sticker back.
If any adhesive remains on a window, clean it with window cleaner. If adhesive remains on the paint, use a "Bumper Sticker Remover" and then polish the area with car wax.
Please note that decals are not reusable; once a decal has been applied and removed, it cannot be used again.