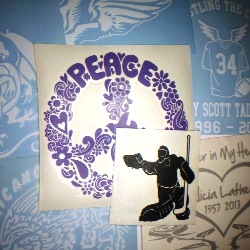
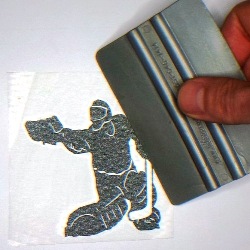
Before installing the decal, ensure that the decal is properly stuck to the transfer tape.
Lay decals flat on a smooth table in an area that is at least 60º F and below 80º F.
Take the squeegee application tool (or credit card) and press firmly over the whole surface of the decal while it is still laying flat on the table.

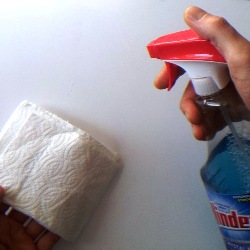
- Use regular glass cleaner or rubbing alcohol and clean surface thoroughly. SURFACE MUST BE CLEAN OF DIRT, DUST, OIL, AND WAX. For optimum results, surface temperature should be above 50ºF and below 90ºF.
- If the decal goes on freshly painted surface, ensure that you wait at least 60 days before applying on it.
- Clean the surface thoroughly using alcohol or Windex. Surface must be clean of dirt, dust, oil, and wax.
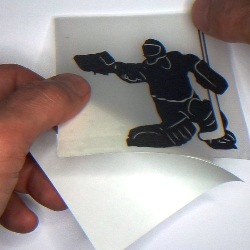
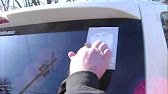
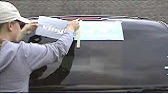
- Without removing the paper in the back place the decal on the surface. Use the side portions of the tape to fix the decal on the place.
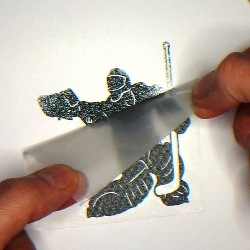
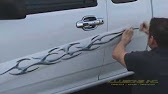
- Leave the right portion of the tape on. Start applying the decal from right to left by removing the paper from back of the decal with one hand and applying the decal with the other hand. (use squeegee or a credit card)
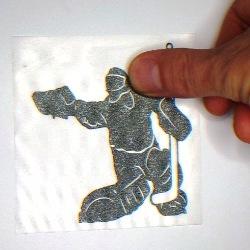
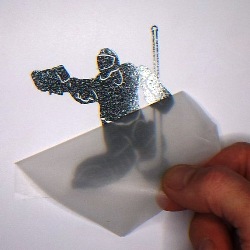
- Let the decal sit for about 30 seconds and then remove the transfer tape slowly.
(Any small bubbles can be removed by poking a small hole and pushing the air out of the bubble with finger.)
|